Now that I've declared "Make it Happen" my personal slogan, I am seeing the phrase pop up everywhere. Fate? Or selective attention? I'm not sure, but it sure is cool. Here are just a few of sooo many instances:
1. I keep seeing Mariah Carey's Make it Happen all over Facebook and in my favorite magazine.
2. I was reading an article the other day about immigrant millionaires, and one of the women gave advice to "Follow your dream and make it happen." Exactly!
3. In another magazine, a slogan for a personal training certificate program (how perfect!) popped right out at me.
4. At about the same time, I was reading The Art of Nonconformity (great read) and the phrase popped right out at me on many-a-page.
5. In yet another magazine, I was reading a success story, and the woman's chosen mantra while working out was "make it happen."
Seeing those words popping up everywhere is pretty nifty. Once you start seeing these words constantly repeating themselves, it's like perpetual motivation. It keeps me going.
What is your workout mantra?
My Favorite Mantra is Everywhere
Friday, December 14, 2012
Leave a Comment
Labels:
boun-see balls,
exercise,
fitness,
health,
mantra,
motivation,
workout
DIY Advent Calendar Ideas
Wednesday, December 12, 2012
I love the idea of Advent calendars because they present a way of bringing Christmas to the entire month of December. The anticipation that accompanies the countdown is unmatched--especially for a little boy at age 4. Typically, we mark X's on calendars when we're counting down the days to things like vacations and hunting season. For Christmas though, an Advent calendar does the counting for us, with plenty of fun and deliciousness built in.
Done a little differently, Advent calendars can also serve as an intentional way to make family time a priority. This year, we devised little activities or treats we could enjoy as a family. This way, every day in December produces the chance to make meaningful memories. Not only that, but we're also generating new yearly family traditions (decorating a tree for the birds, picking out a new Christmas album, etc).
Our simple advent calendar was made with supplies from the Dollar Store or craft store. My Peanut and I simply went to town painting an $0.89 art canvas with acrylic paints I already had around the house.
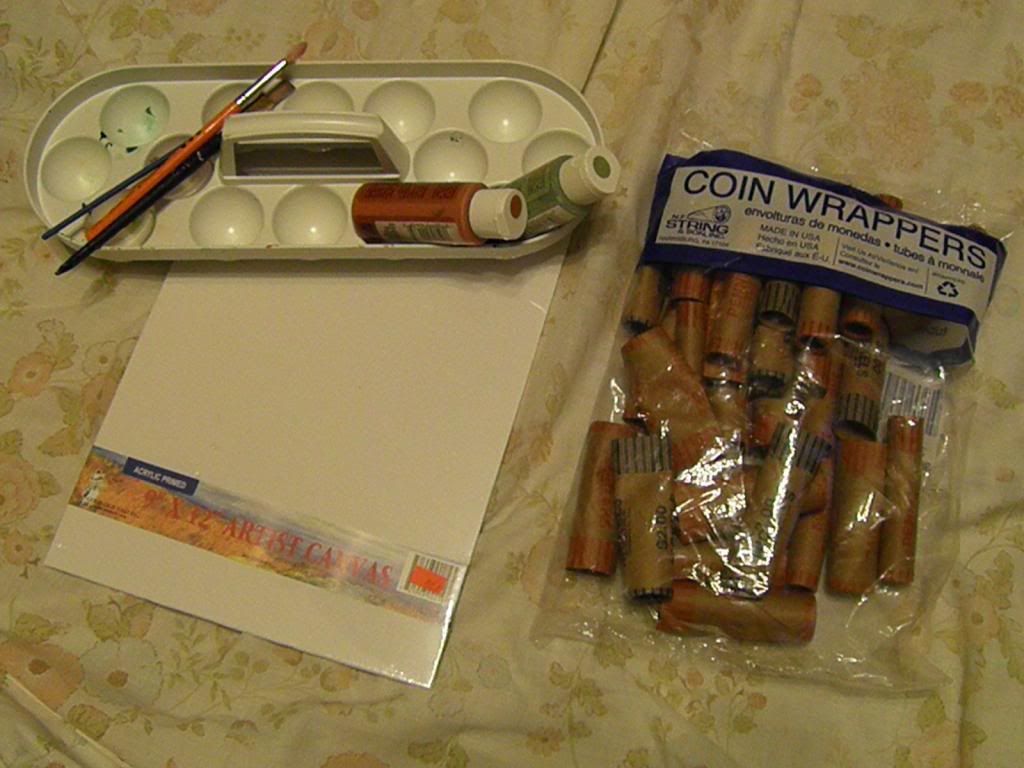
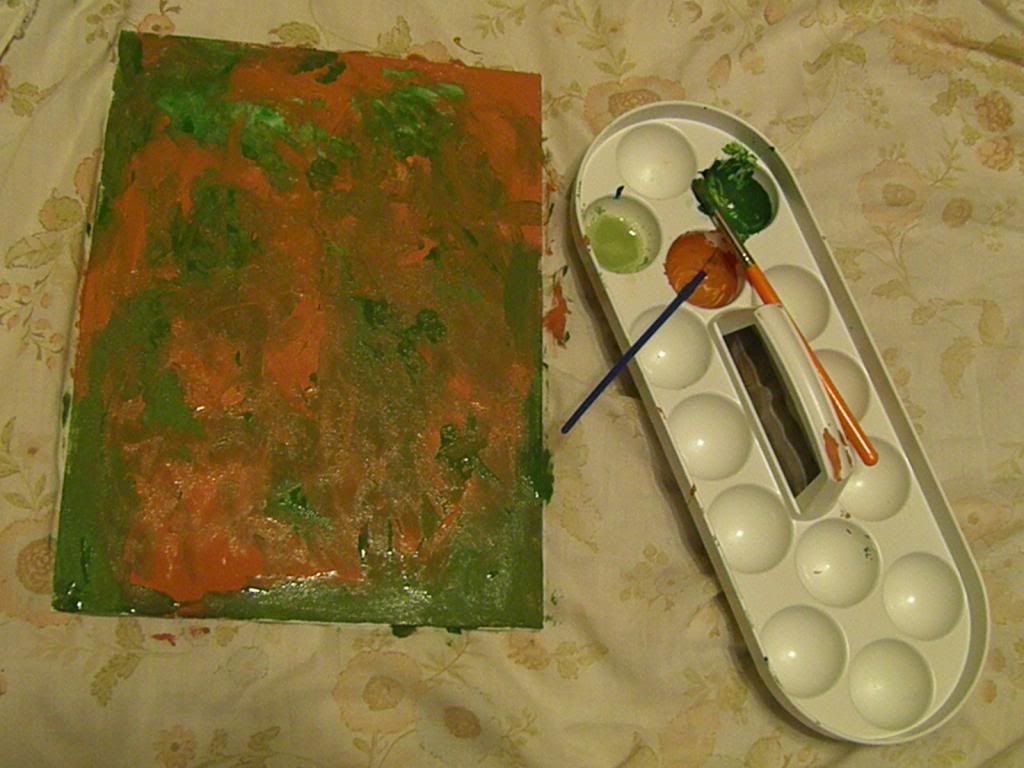
Then, I cut 25 change rolls in half and arranged them in a Christmas tree shape.
We glued the rolls to the canvas and voila!
I printed a list of activities on a standard sheet of paper, cut them out, rolled them up, and put one in each roll. These are the activities we have been/are enjoying this December. Wouldn't it be fantastic to make one of these for every month of the year just to make each day of the year a little extra special?
Some of these activities had to be strategically placed on certain days when community events are happening. Due to the time involved and weekday constraints, some had to be relegated to the weekends (camp-outs, etc). As much as we love Santa, we tried to incorporate the real reason for the season as much as possible, such as renting Nativity books from the library and pointing out all the manger scenes among the decorated houses.
We have also been enjoying a piece of chocolate out of this good ol' traditional Advent calendar.


Then, I cut 25 change rolls in half and arranged them in a Christmas tree shape.
- Downtown Art Walk: Morgan House, carriage rides (December 1, 6-9)
- Enjoy a warm cup of apple cinnamon tea
- Take a ride and look at Christmas lights
- Rent Christmas music/books from the library
- Go to the Dollar Store to pick up a new ornament
- Play in the snow with hot chocolate after
- Festival of Lights (December 4)
- Take a walk around the neighborhood to look at Christmas décor
- Put up lights/Santa stuff outside our house
- Write a letter to Santa and send it
- Visit Santa and tell him what you want for Christmas (Dec 8)
- Decorate a Christmas tree outside for the birds
- Make a new Christmas wreath together
- Watch a Christmas movie together
- Make/Decorate Christmas cookies
- $1
- $1
- $1
- Read the Christmas story in the Bible
- Go buy a new Christmas CD/record
- Donut Date
- Find a special gift we can give to baby Jesus like the three kings did.
- Camp out under the Christmas tree
- Make hot chocolate (from scratch?)
- Snowball fight!!!
How are you preparing for Christmas? Do you have any interesting Christmas traditions?
Leave a Comment
Labels:
Christmas,
DIY project,
family,
happiness
Boy Scout Log Painting DIY
Thursday, November 29, 2012
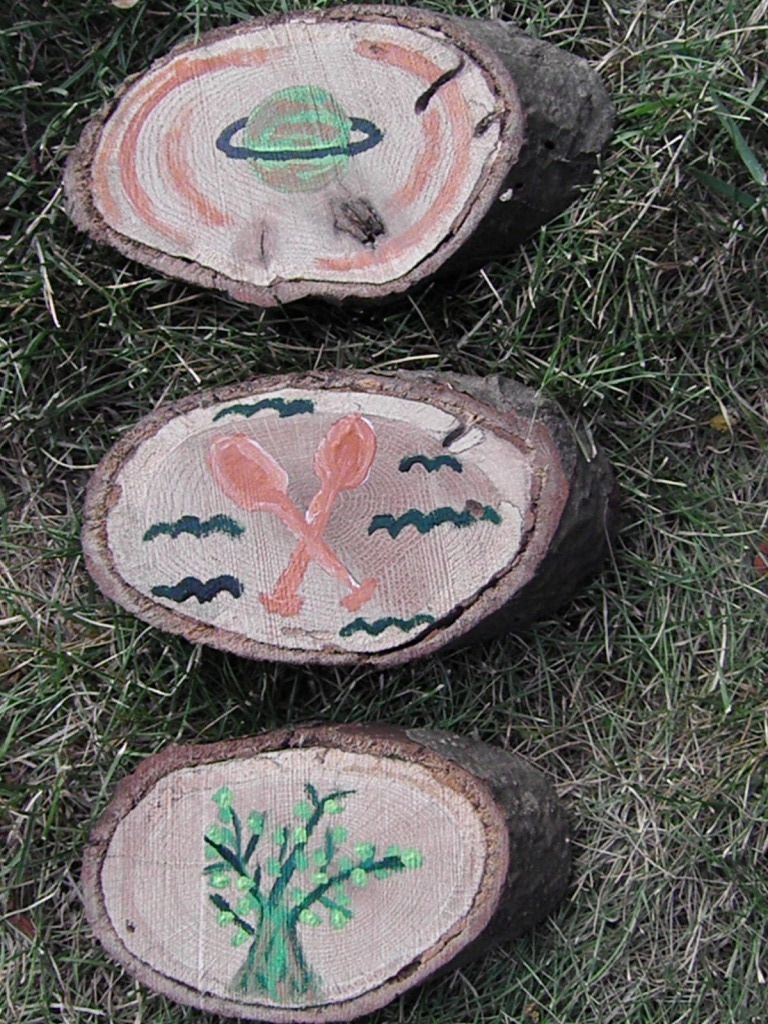
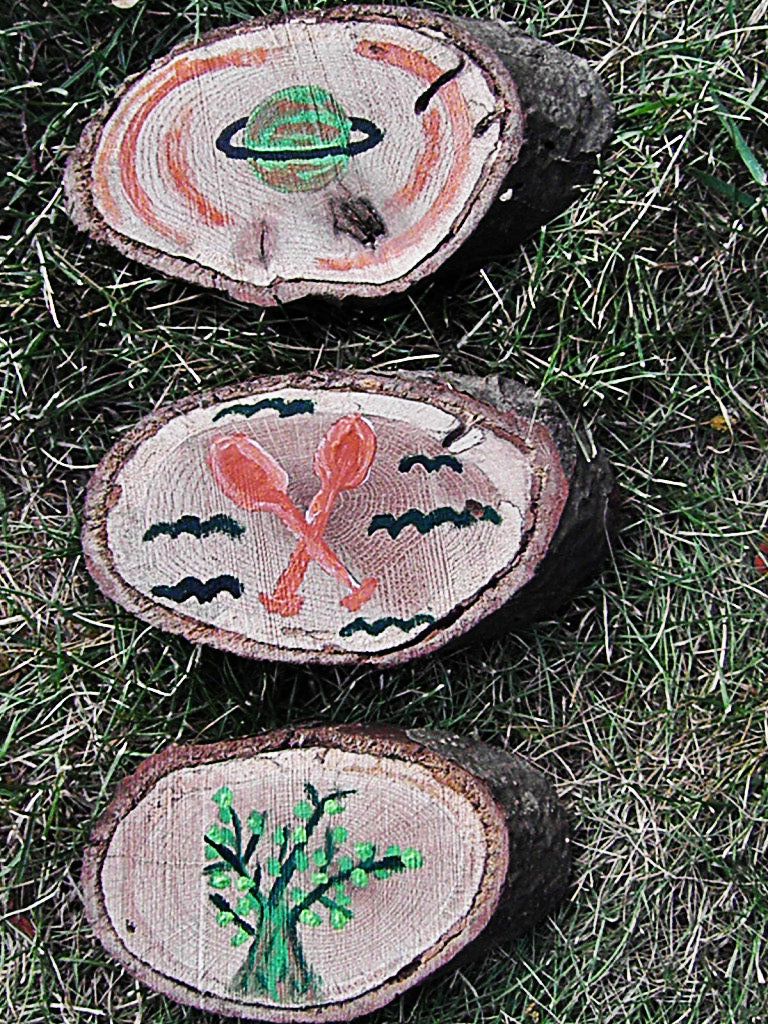
I made these little log pictures as a gift for my son. His room has an outdoorsy theme, so I figured the boy scouts look would fit right in.
The designs are loosely based on the the merit badges from the official Boy Scouts site. I chose Forestry, Astronomy and Canoeing as the three themes that I would use when designing the pictures. I wanted the designs to be simple yet meaningful. We spend a lot of time in the out-of-doors, and these are three subjects that I can't wait to explore more with my son. We've already watched the Perseid meteor shower together, hiked through many-a-forest and sailed across the water in our kayaks, so these insignias hold a special connection for us.
Supplies
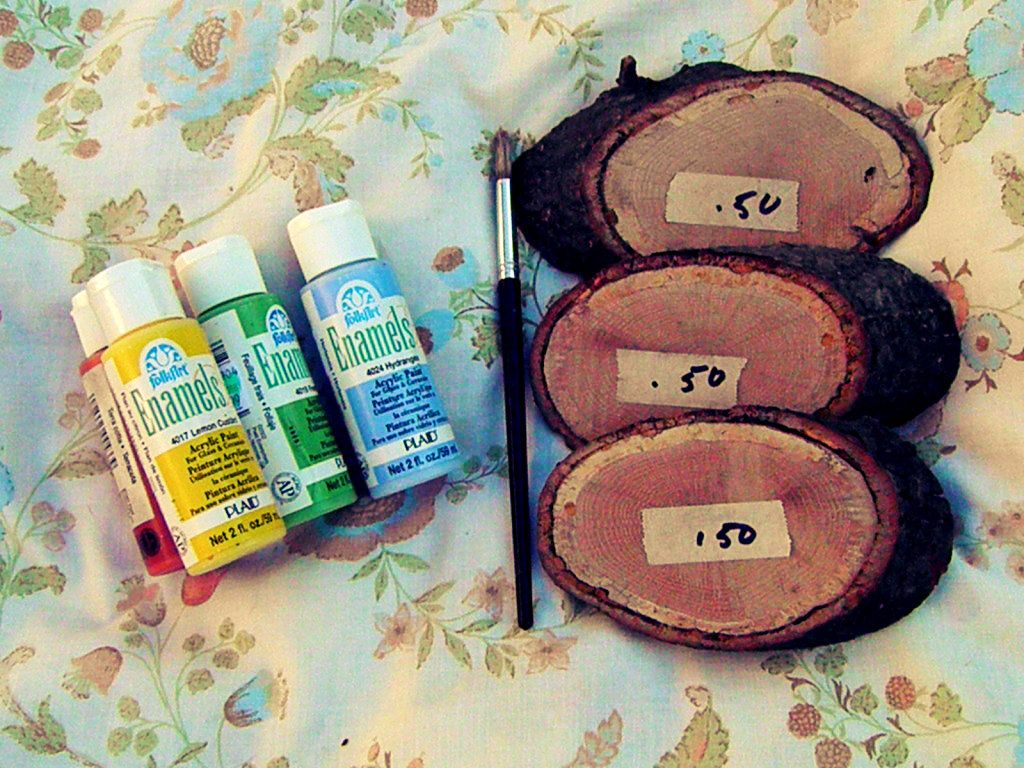
1. Three raw slabs of wood. I happened to find these fine specimens at the thrift store for $0.50, but you could easily make your own with a thick branch, saw, and sandpaper.
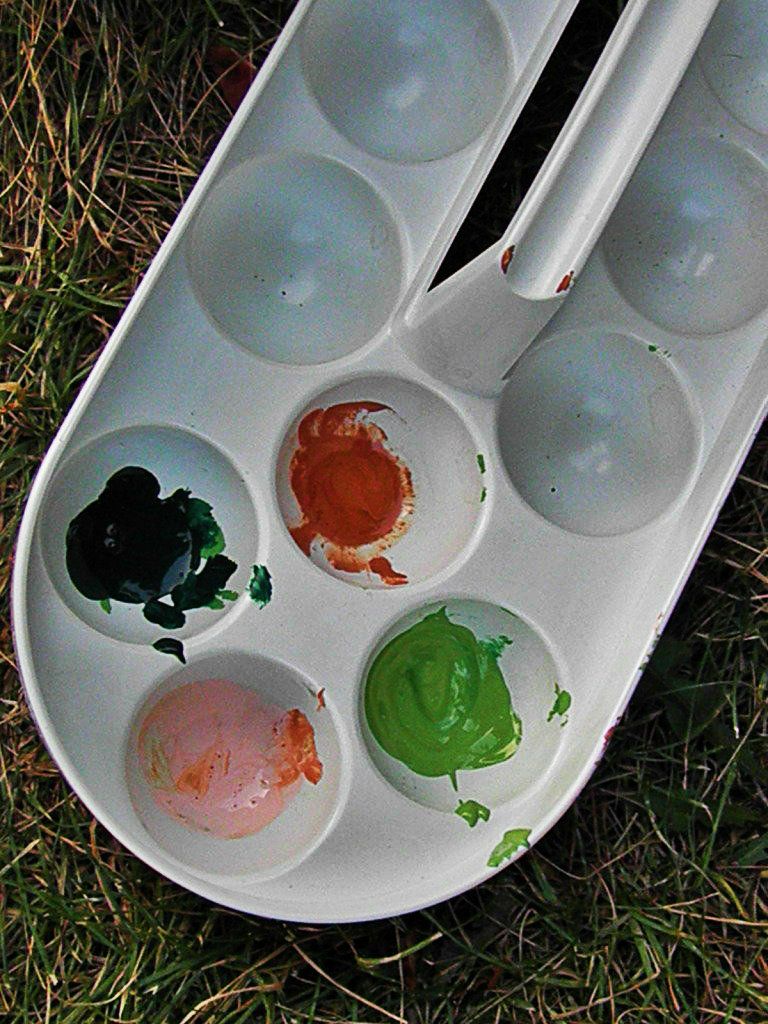
2. Acrylic paints
3. Paintbrush
4. Frame hangers
Directions
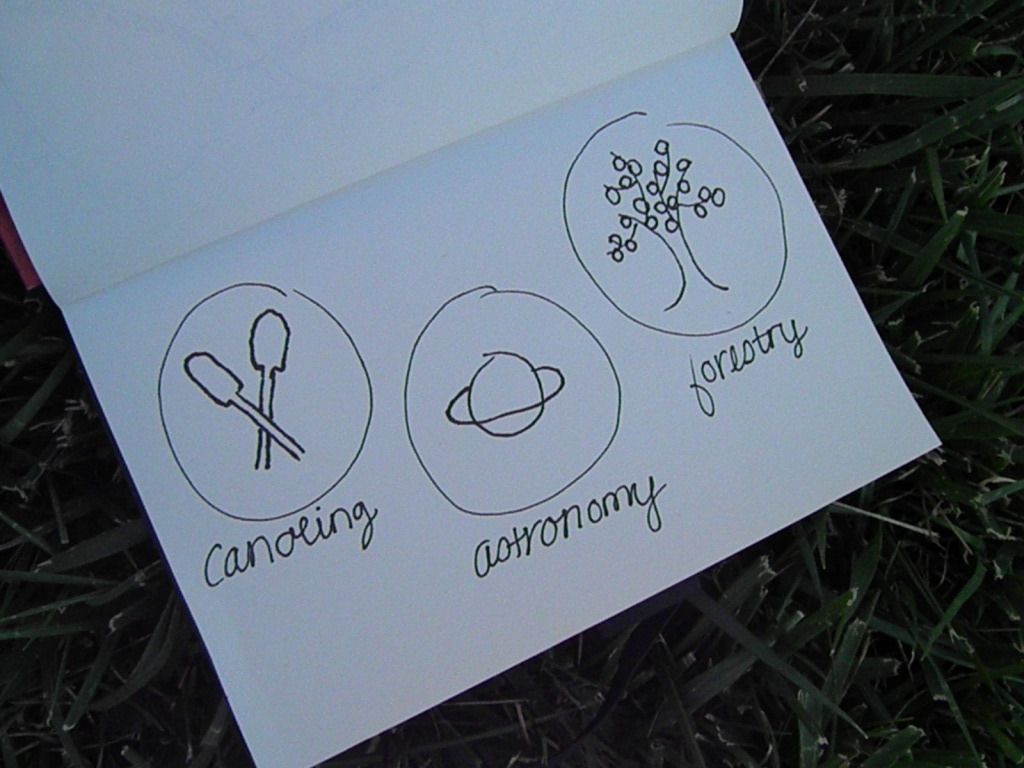
1. Sketch out your designs first. It's easier to transfer a sketch to the wood when you finally find a look you like. It may take a few tries to get there.
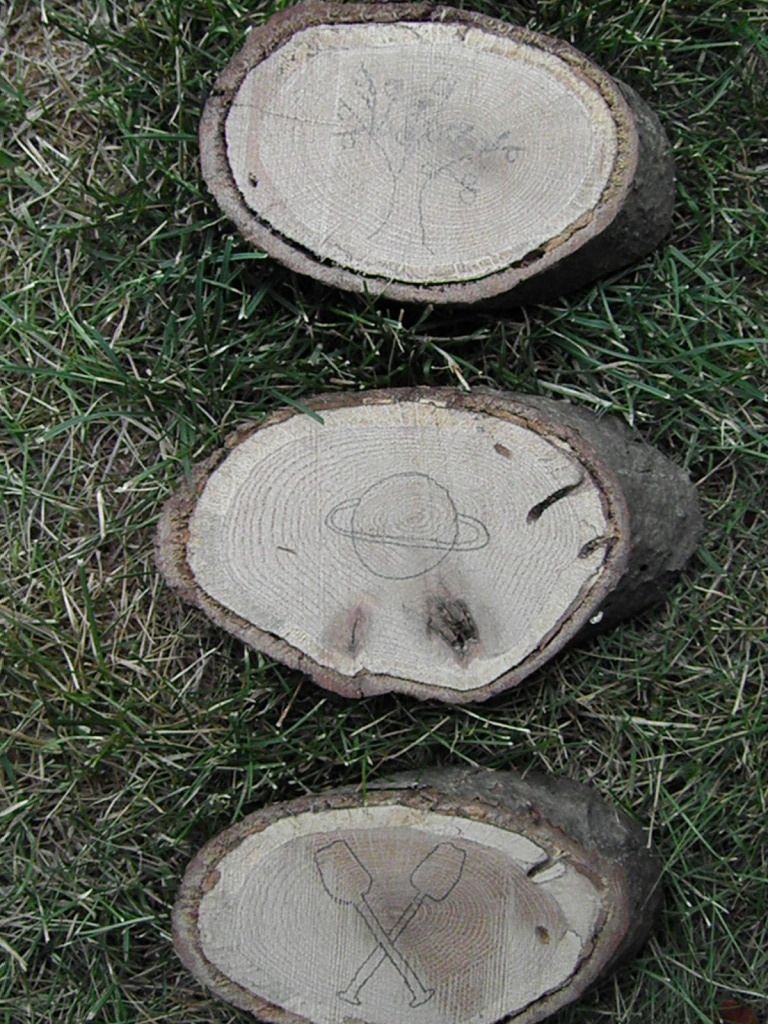
2. Pencil the design on the wood and paint inside the lines as desired.
4. I used the same color scheme across all three pictures to keep the look color-coordinated and to make them match his room.
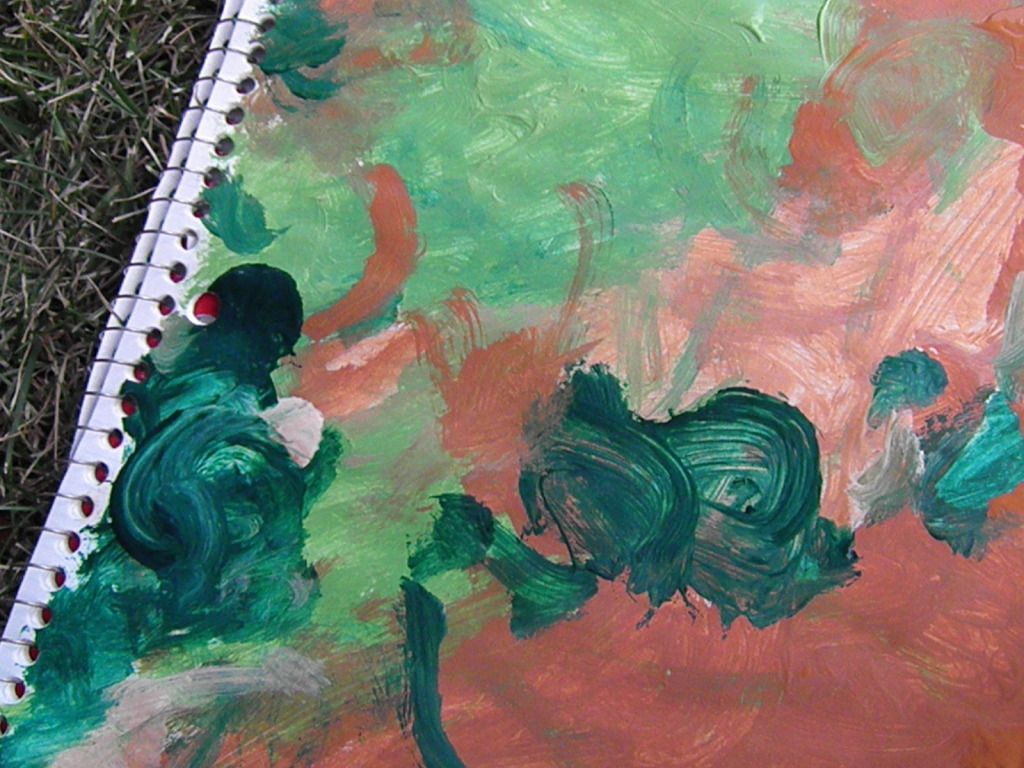
5. Meanwhile, if you have an extra paintbrush and painting surface, get your child involved too. Mine wanted to paint too, so I handed him my notebook and let him explore his abstract side.
6. Hammer the frame hangers into the back and hang as desired. If you're hanging these in a sunny room, you might want to add a layer of finish over the top to help prevent the paint from fading.
I hope to do some more experiments with log slabs in the future. Maybe even use some leftover chalkboard paint that I have. We shall see. I really like having a few raw wood accents here and there in my home. They have a natural and raw aura about them without getting too woodsy and country for my taste.
The designs are loosely based on the the merit badges from the official Boy Scouts site. I chose Forestry, Astronomy and Canoeing as the three themes that I would use when designing the pictures. I wanted the designs to be simple yet meaningful. We spend a lot of time in the out-of-doors, and these are three subjects that I can't wait to explore more with my son. We've already watched the Perseid meteor shower together, hiked through many-a-forest and sailed across the water in our kayaks, so these insignias hold a special connection for us.
Supplies
1. Three raw slabs of wood. I happened to find these fine specimens at the thrift store for $0.50, but you could easily make your own with a thick branch, saw, and sandpaper.
2. Acrylic paints
3. Paintbrush
4. Frame hangers
Directions
1. Sketch out your designs first. It's easier to transfer a sketch to the wood when you finally find a look you like. It may take a few tries to get there.
2. Pencil the design on the wood and paint inside the lines as desired.
4. I used the same color scheme across all three pictures to keep the look color-coordinated and to make them match his room.
5. Meanwhile, if you have an extra paintbrush and painting surface, get your child involved too. Mine wanted to paint too, so I handed him my notebook and let him explore his abstract side.
6. Hammer the frame hangers into the back and hang as desired. If you're hanging these in a sunny room, you might want to add a layer of finish over the top to help prevent the paint from fading.
I hope to do some more experiments with log slabs in the future. Maybe even use some leftover chalkboard paint that I have. We shall see. I really like having a few raw wood accents here and there in my home. They have a natural and raw aura about them without getting too woodsy and country for my taste.
Finger Bouquets Addiction
Friday, November 2, 2012
This summer, finger bouquets became my new favorite hobby. As we move into colder weather, I might have to start making leaf and acorn bouquets and then pine needle bouquets. Who knows? Until then, I'm still in love with this simple happiness habit.
I ask again, why would you walk around empty-handed, when you can walk around with fragrant flowers in your hand? Duh!


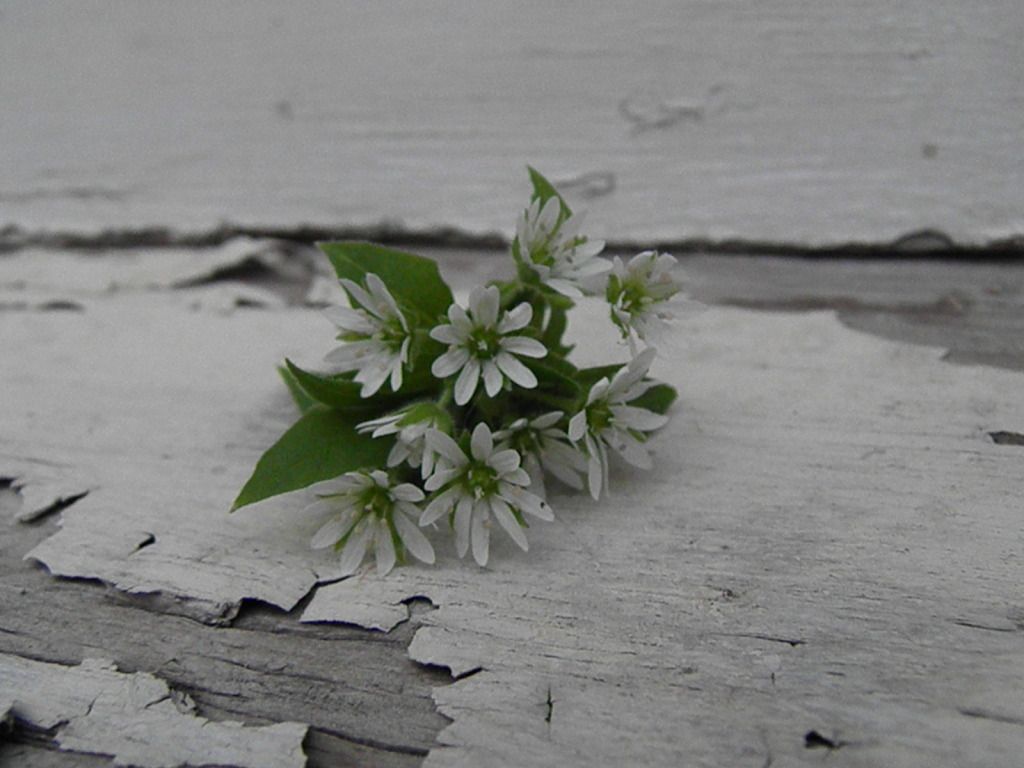
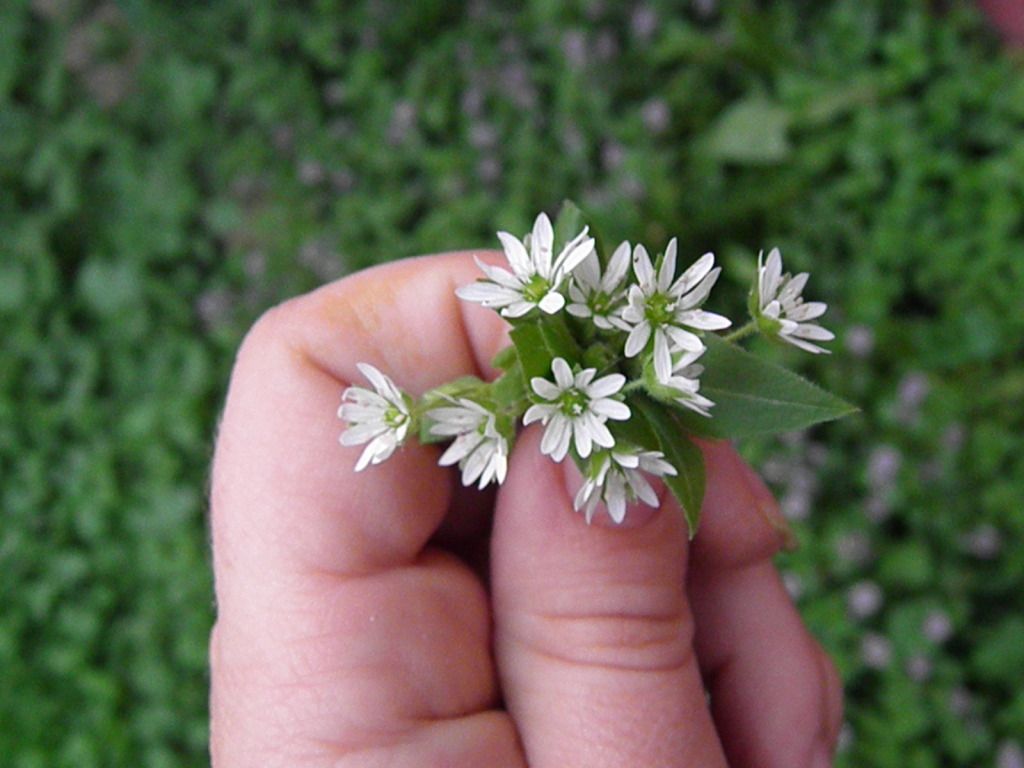
Pretty little flowers (don't tell them they're weeds; they don't know that) growing in my backyard lawn.

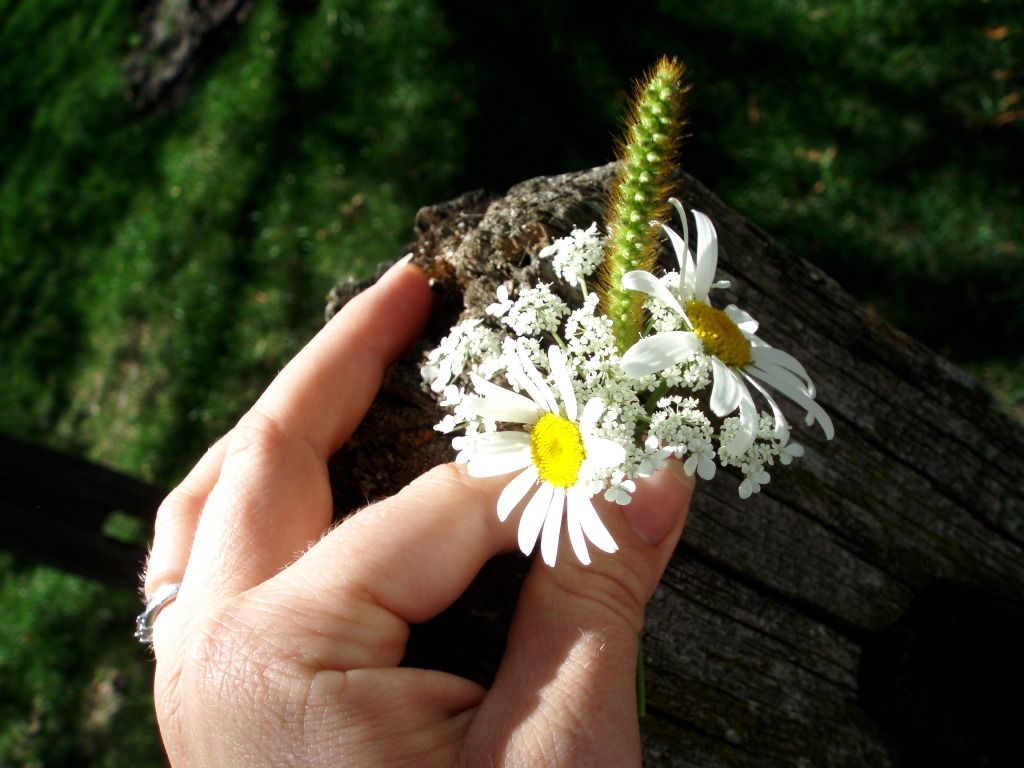
I usually take a walk past some railroad tracks on my lunch break where there is plenty of wild flora to arrange in your fingers. This one made it back to my desk and into a cup of water.
Apparently yellow and white varieties are popular in Wisconsin.
My whole life's ambition is to make each day a little lovelier. There really are easy things that you can do every single day to brighten your spirits and sprinkle in some special-ness. Finger bouquets are one of my favorite ways to gather beauty and visual gold out of the cracks. Flower collecting is a much better habit to be into than crack numbering, don't you agree? Train your mind to see the flowers, not the junk in the cracks.
Cool, huh? You should try it.
I ask again, why would you walk around empty-handed, when you can walk around with fragrant flowers in your hand? Duh!


Pretty little flowers (don't tell them they're weeds; they don't know that) growing in my backyard lawn.

I usually take a walk past some railroad tracks on my lunch break where there is plenty of wild flora to arrange in your fingers. This one made it back to my desk and into a cup of water.
Apparently yellow and white varieties are popular in Wisconsin.
My whole life's ambition is to make each day a little lovelier. There really are easy things that you can do every single day to brighten your spirits and sprinkle in some special-ness. Finger bouquets are one of my favorite ways to gather beauty and visual gold out of the cracks. Flower collecting is a much better habit to be into than crack numbering, don't you agree? Train your mind to see the flowers, not the junk in the cracks.
Cool, huh? You should try it.
Leave a Comment
Labels:
boun-sing ideas,
habits,
happiness,
wellbeing
Life in a Northern Town Part One
Wednesday, October 31, 2012
Weekend getaways are the perfect "reset" button, especially when you travel somewhere remote without WiFi. Ok, I just got a new smartphone, so WiFi is a new worldly wonder to me right now.
Our little family of 3 packed up and headed out on Friday, driving north to a city near Crivitz, WI. Let me define remote for you. A good portion of our trip exploring the area involved gravel and dirt roads flanked by endless miles of breathtaking forest. It was beaUTIful! We had been eagerly awaiting the trip, marking "x's" on the calendar, and it was all so worthwhile.
I can't get the song "Life in Northern Town" out of my head right about now.
Friday evening was all about investigating our surroundings. Right across the street from our lodge was a small clean lake that would be ideal for swimming in the summer. We found...
Deer tracks along the sandy beach
Mystical-looking mushrooms (what are these???)
Logs for climbing
Fields to chase each other in
Sand craters to play "house" in
Firewood for the pit
Pretty acorns with every step
Peanut photo opportunities
Cool fall colors: moss green and tans
And a cute nearby ice cream parlor called Phat Daddy's. The Macadamia Nut fudge sundae with fudge sauce and two cherries was belly-achingly-good!
This simple trip turned out to be one of my favorites ever! Just being in the crisp autumn air, surrounded by nature everywhere, not having any to-do list whatsoever and watching my Peanut's eyes light up at every turn were worth everything.
Check back later in the week for Part Two of our Northern Wisconsin trip.
Leave a Comment
Labels:
family,
happiness,
moms,
motherhood,
nature,
toddler
Birthday Banner DIY #1: Fringe Benefits
Tuesday, October 30, 2012
At work, in my department, we skipped a year or two of celebrating birthdays. That made me sad. So, I took it upon myself to resurrect the whole birthday scene. I promised to make one tasteful, personalized banner for each birthday person. Nearly everything that I've made so far has been from supplies I already had on-hand (scrapbook paper, tissue paper, tree branches, etc), so it didn't break my budget. I just think that birthdays are worth celebrating with something lovely.
Since I've been working my way through different designs for this past year, I thought it would be fun to share a few of them to perhaps inspire you for your next celebration.
I'll begin with one of the simplest banners, cut from tissue paper.
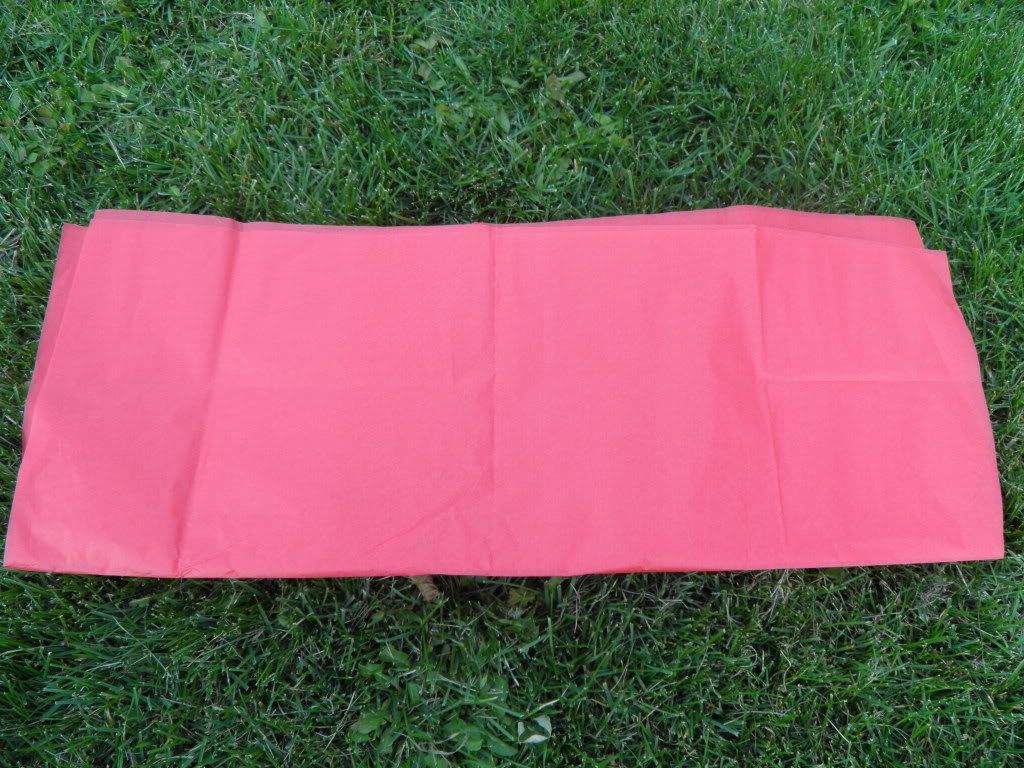
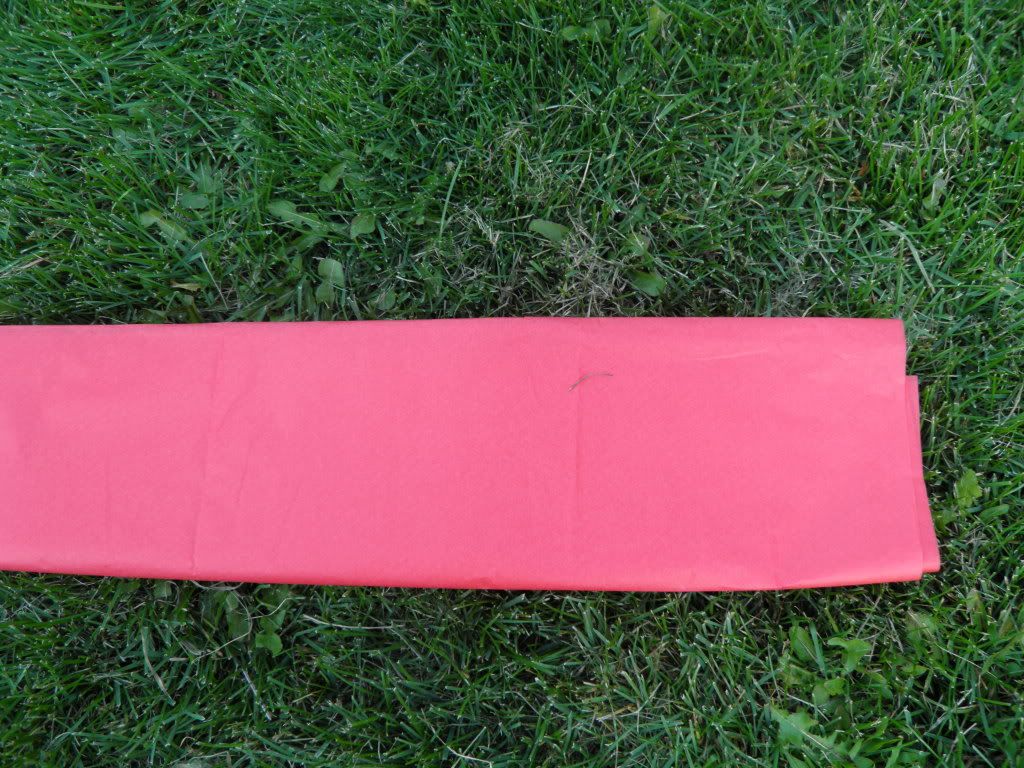
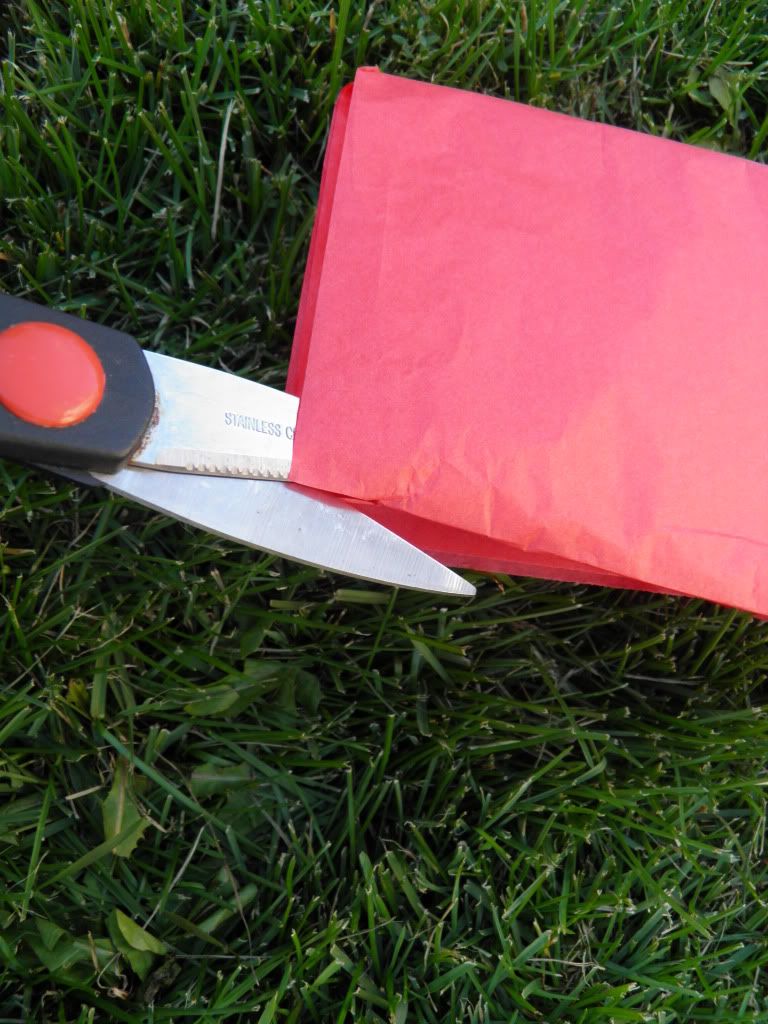
1. Fold about 3-4 sheets of tissue paper in half. Then, fold in half again.


2. Cut along the folds on the side with open ends.

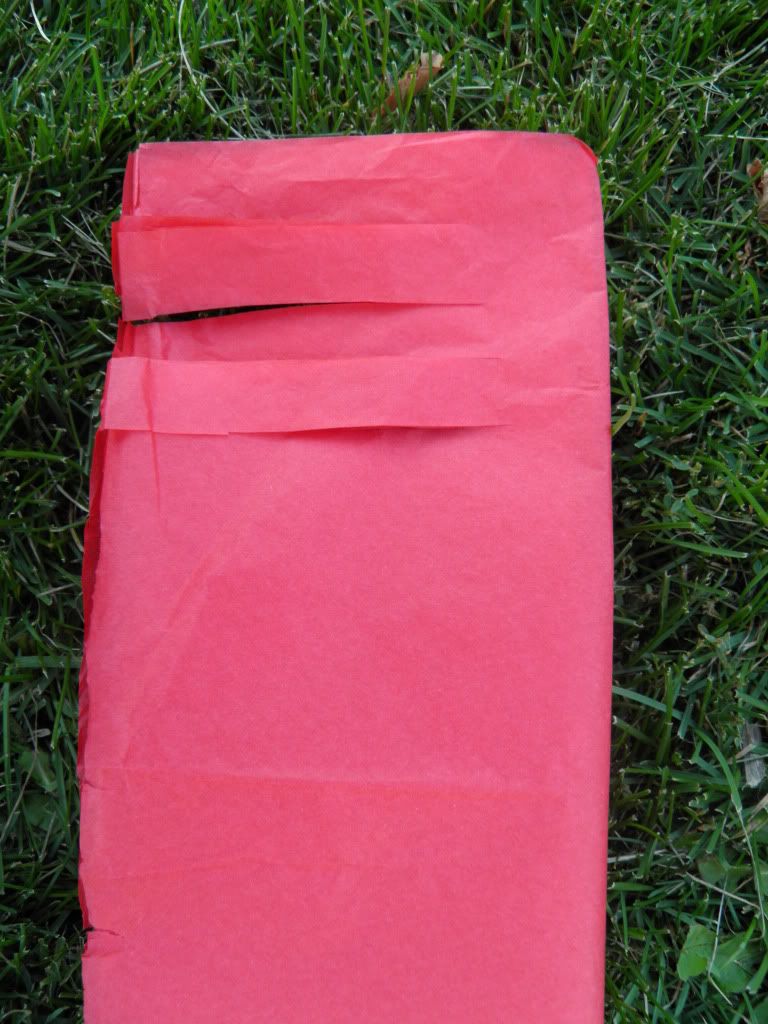
3. Using the side with the open ends, cut slits about halfway up every 1/2-inch to inch or so. They don't need to be equal. This will give the banner a fringe-ish look.

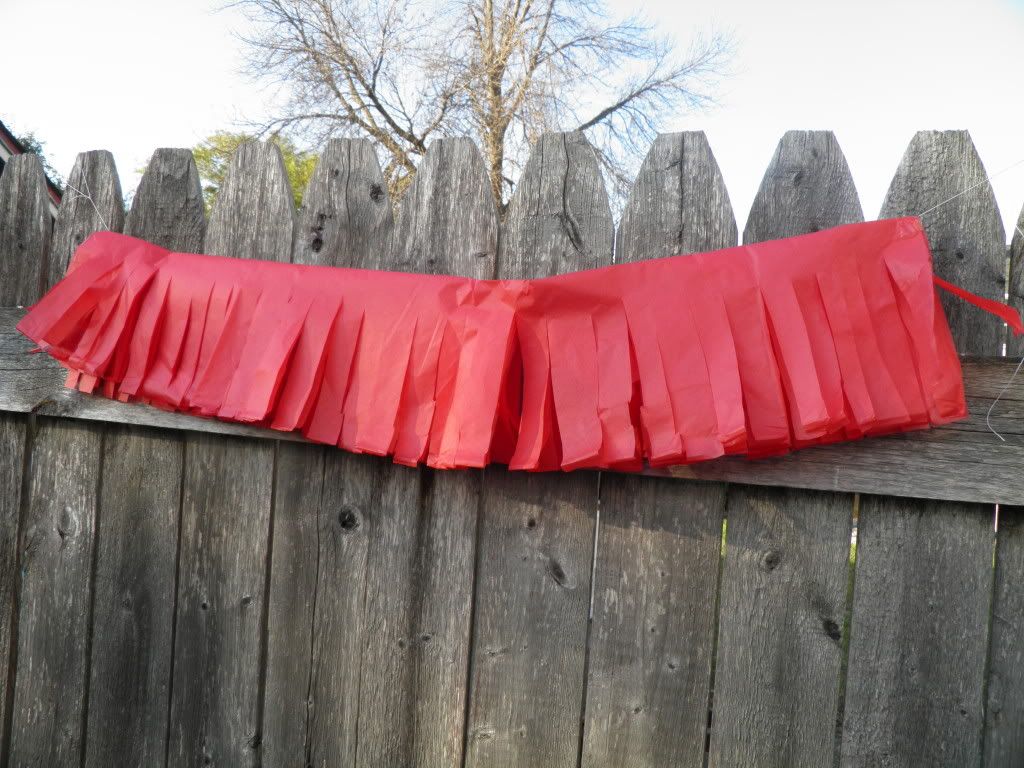
4. Now, open the banner at the center and attach a length of string right down the middle with tape.

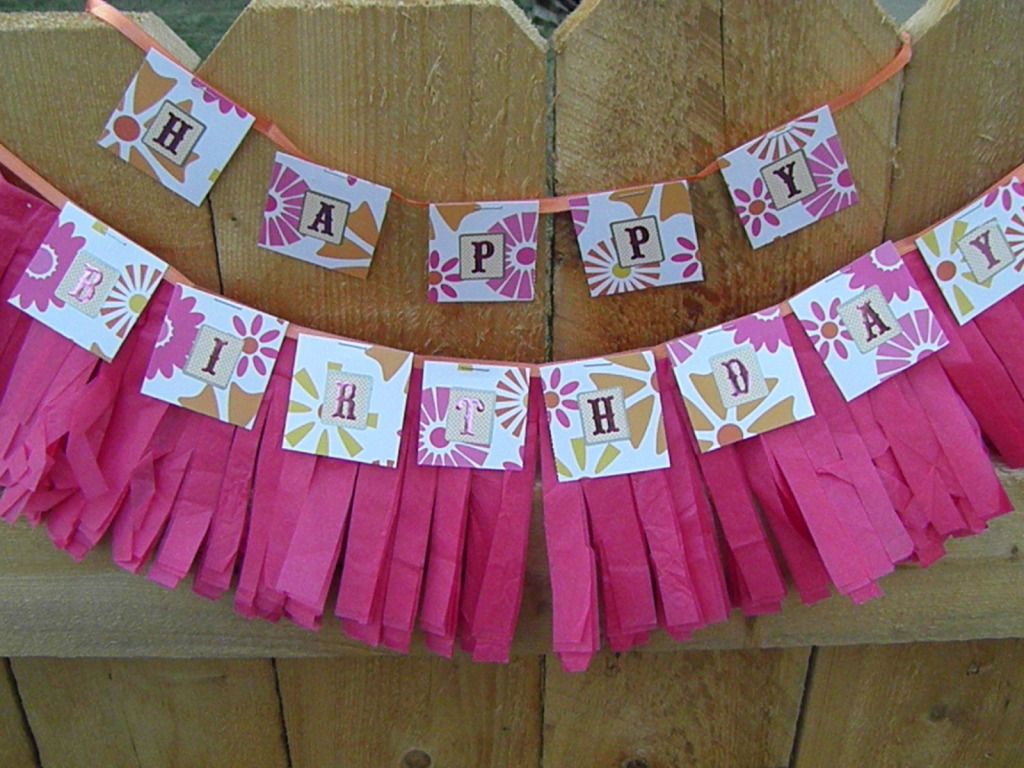
5. Flip back over and you're finished. Use the ends of the string to attach your banner any way you wish. Use some coordinating scrapbook paper cut into 3" x 3" squares and some alphabet stickers to create the "Happy Birthday." Staple the squares to a coordinating length of ribbon.


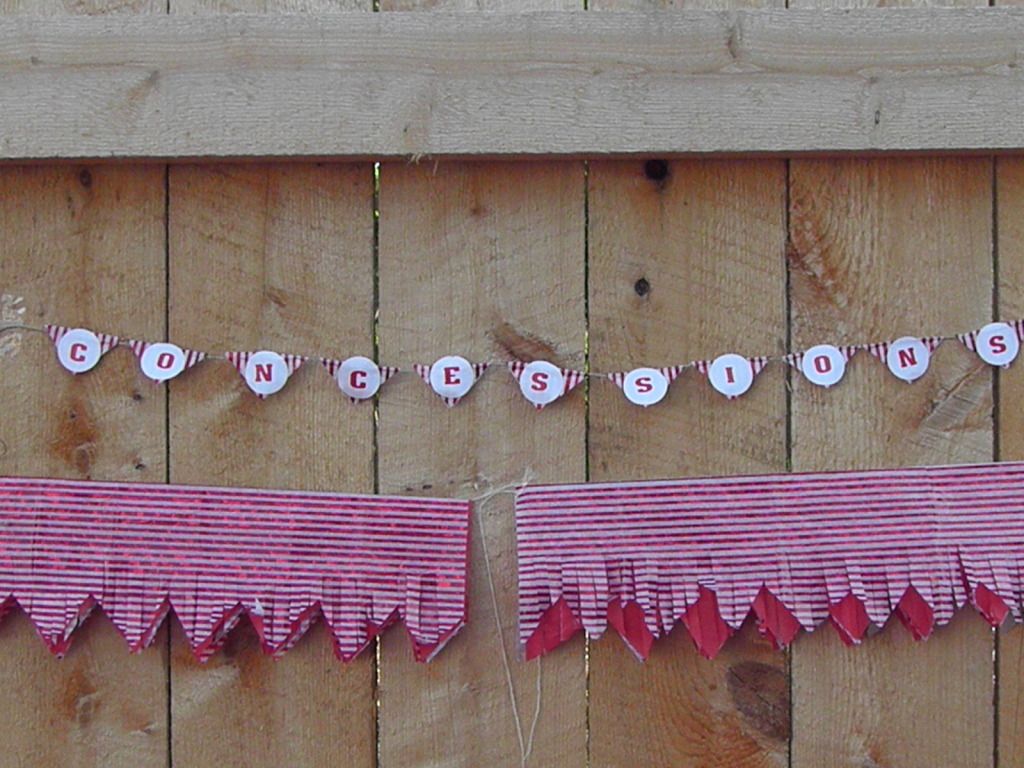
I used this same technique for the Concessions banner, except I cut a zig-zags along the end of the tissue paper before I cut the fringe. Feel free to play around with this design. These banners would be especially festive for a Hawaiian-themed party.

There's more where that came from. I have some map banners, tassels and driftwood designs up my sleeve. Stay tuned!
*Hey, did anyone notice we got a new fence in the middle of this project? Hee hee!
Since I've been working my way through different designs for this past year, I thought it would be fun to share a few of them to perhaps inspire you for your next celebration.
I'll begin with one of the simplest banners, cut from tissue paper.
Fringe Benefits Banner
1. Fold about 3-4 sheets of tissue paper in half. Then, fold in half again.


2. Cut along the folds on the side with open ends.

3. Using the side with the open ends, cut slits about halfway up every 1/2-inch to inch or so. They don't need to be equal. This will give the banner a fringe-ish look.

4. Now, open the banner at the center and attach a length of string right down the middle with tape.

5. Flip back over and you're finished. Use the ends of the string to attach your banner any way you wish. Use some coordinating scrapbook paper cut into 3" x 3" squares and some alphabet stickers to create the "Happy Birthday." Staple the squares to a coordinating length of ribbon.


I used this same technique for the Concessions banner, except I cut a zig-zags along the end of the tissue paper before I cut the fringe. Feel free to play around with this design. These banners would be especially festive for a Hawaiian-themed party.

There's more where that came from. I have some map banners, tassels and driftwood designs up my sleeve. Stay tuned!
*Hey, did anyone notice we got a new fence in the middle of this project? Hee hee!
Leave a Comment
Labels:
boun-sing ideas,
crafting,
DIY project,
handmade
Thrifted Goodies for Autumn
Tuesday, October 9, 2012
This summer, I haven't been in a big thrifting/rummage saling kind of mood. Someone check my temperature!!! I guess it goes in phases for me. I did have one surge of thrift craving recently, and spent more than I've ever spent in a thrift store (which is steal el cheapo!). I made quite the haul, which has quenched my craving for weeks.
These three blouses will be perfect for the fall. Their colors, patterns and coverage speak to the changing seasons. I can't wait to pair them with skirts and tights.
Oh, that felt so good. A whole new fall wardrobe for under $40. I can live with that. This was one of the best thrift shopping hauls I've had in a long time.
If you're curious to try out a new thrift shopping adventure, check out my thrift shopping guide for mommas on a budget Part One and Part Two.
These three blouses will be perfect for the fall. Their colors, patterns and coverage speak to the changing seasons. I can't wait to pair them with skirts and tights.
In fact, let's play dress-up right now and put a few outfits together. I just couldn't wait!
I love the tie and pattern on this vintage blouse. I bought the skirt that same day. It was a name brand made with high-quality stretchy fabric, and I didn't even have to brave the mall. Score!
I just fell so hard in love with these shoes, that they had to come home with me. They were a little pricey for a thrift store, but they were brand new, so into my cart they went. The southwestern belt paired with the plaid shirt is super-cute. The two belts that I found just make me swoon. The leather one has the coolest design in it.
I also came away with two other pairs of shoes. I am always very picky and careful with secondhand shoes. I will not buy anything worn. I rarely even venture into the shoe section, but the three I found were all in unworn condition. It's pretty amazing that I found three brand-new pairs that I loved and fit me in the same day.
Oh, that felt so good. A whole new fall wardrobe for under $40. I can live with that. This was one of the best thrift shopping hauls I've had in a long time.
If you're curious to try out a new thrift shopping adventure, check out my thrift shopping guide for mommas on a budget Part One and Part Two.
Leave a Comment
Labels:
moms,
thrift shopping,
thrifting,
vintage