The paper airplanes were created from scrapbook paper that I already had on-hand. Here's how I made them, but really you could fold them however you like:
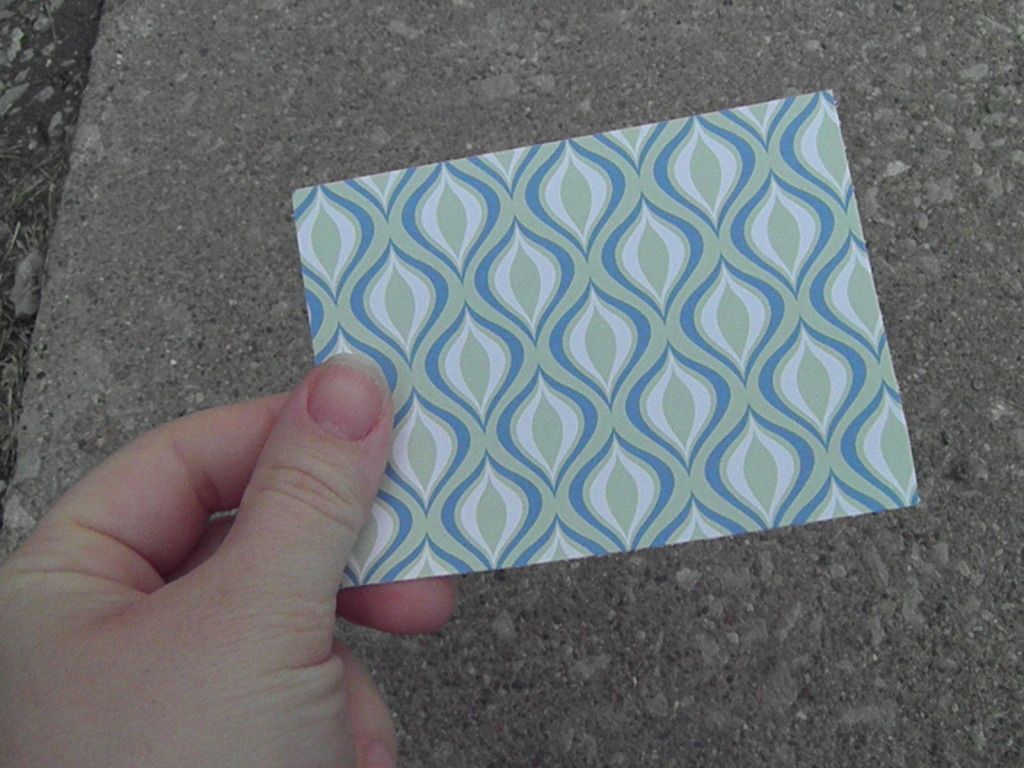
Cut out a rectangular piece of paper. I think this was about 2x3.
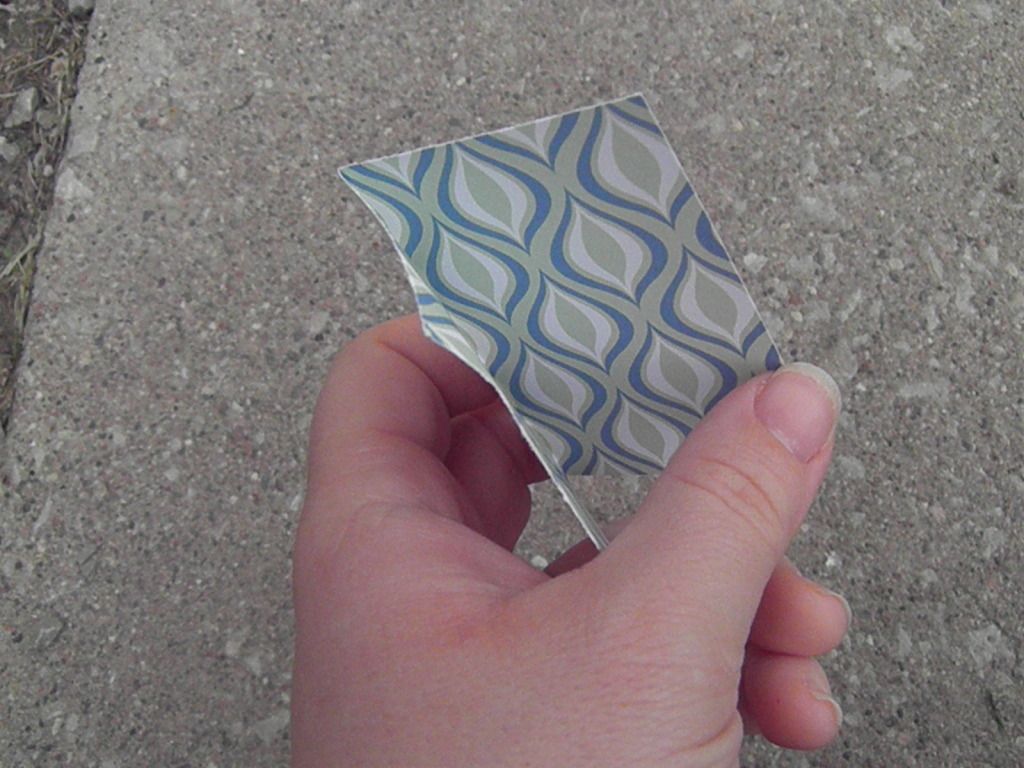
Fold the paper in half with the pretty patterned side on the inside.
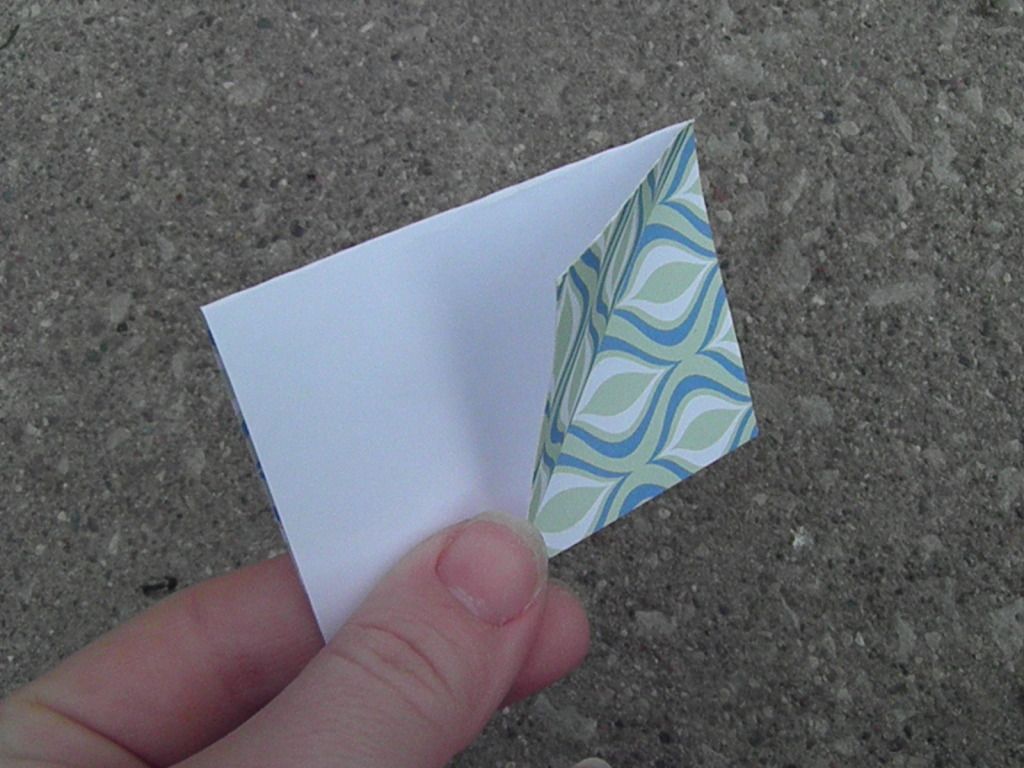
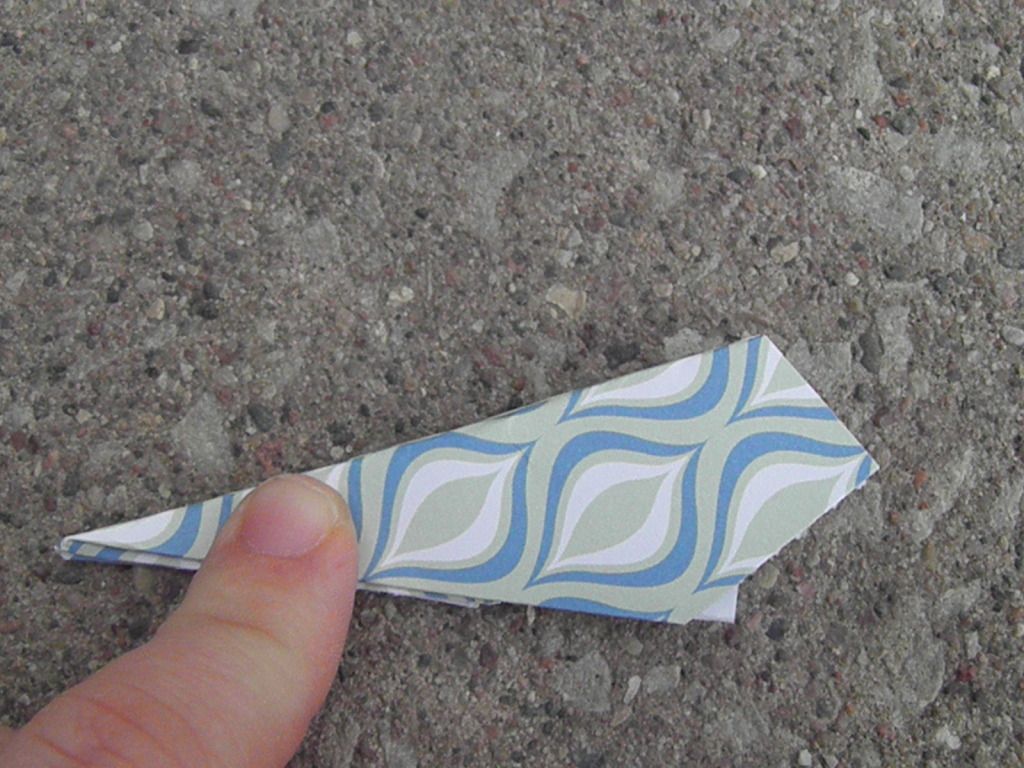
Fold one corner back, flush with the folded side.
Do the same with the other side:
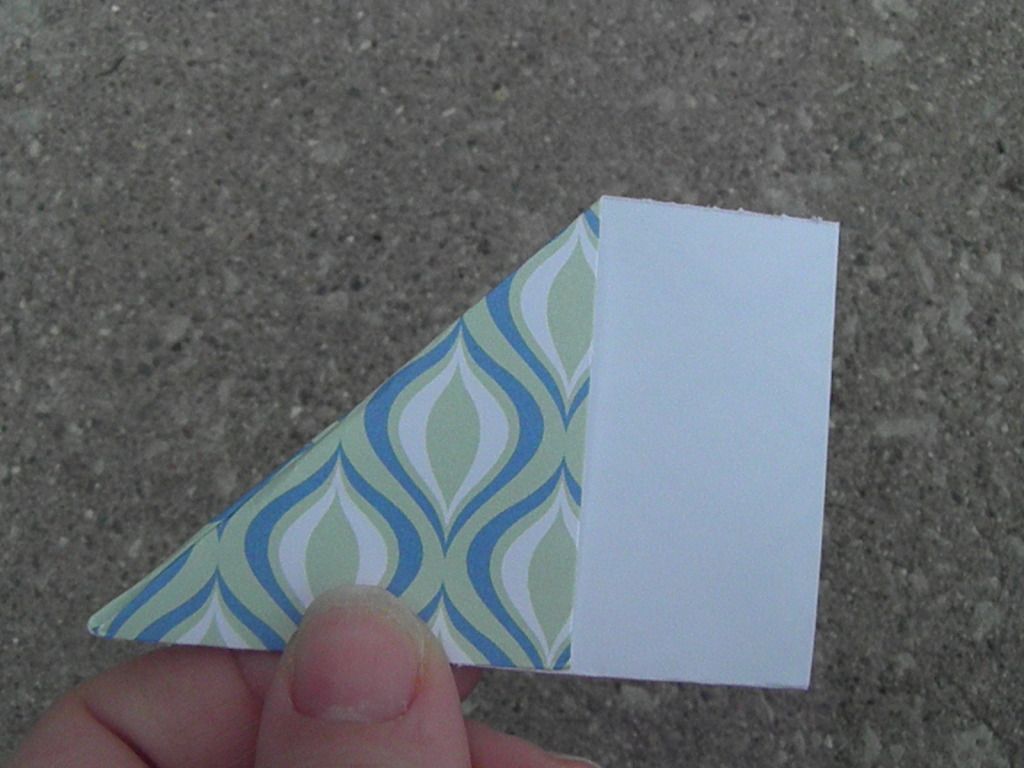
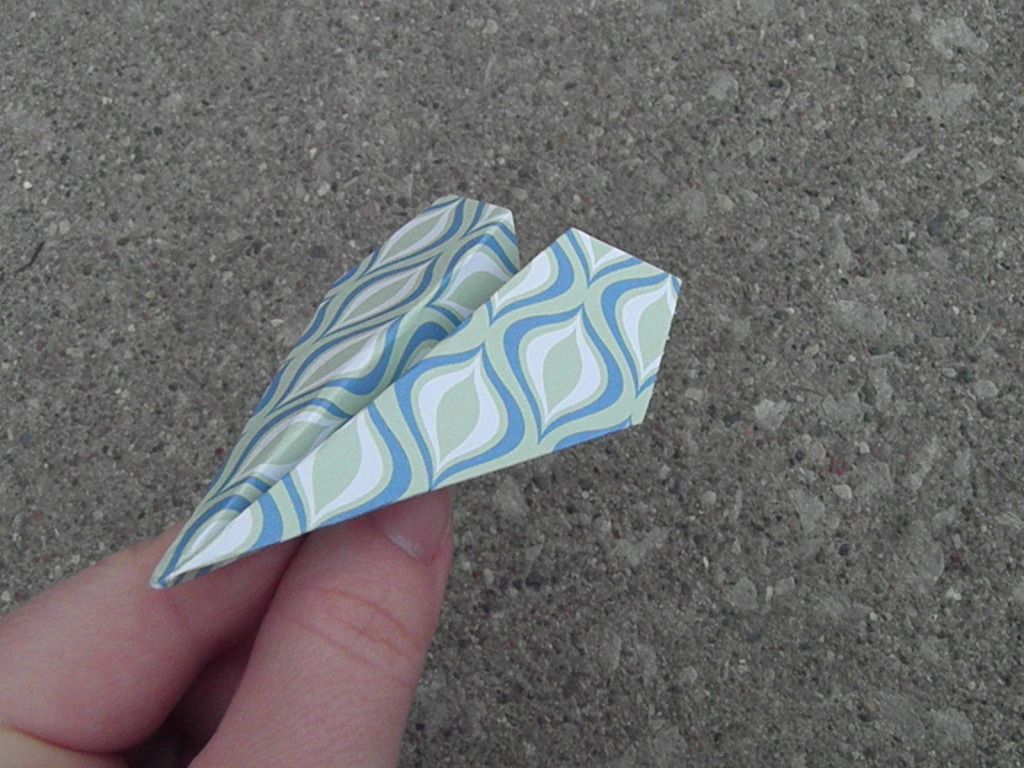
Now, fold that same side of the paper down again on both sides:
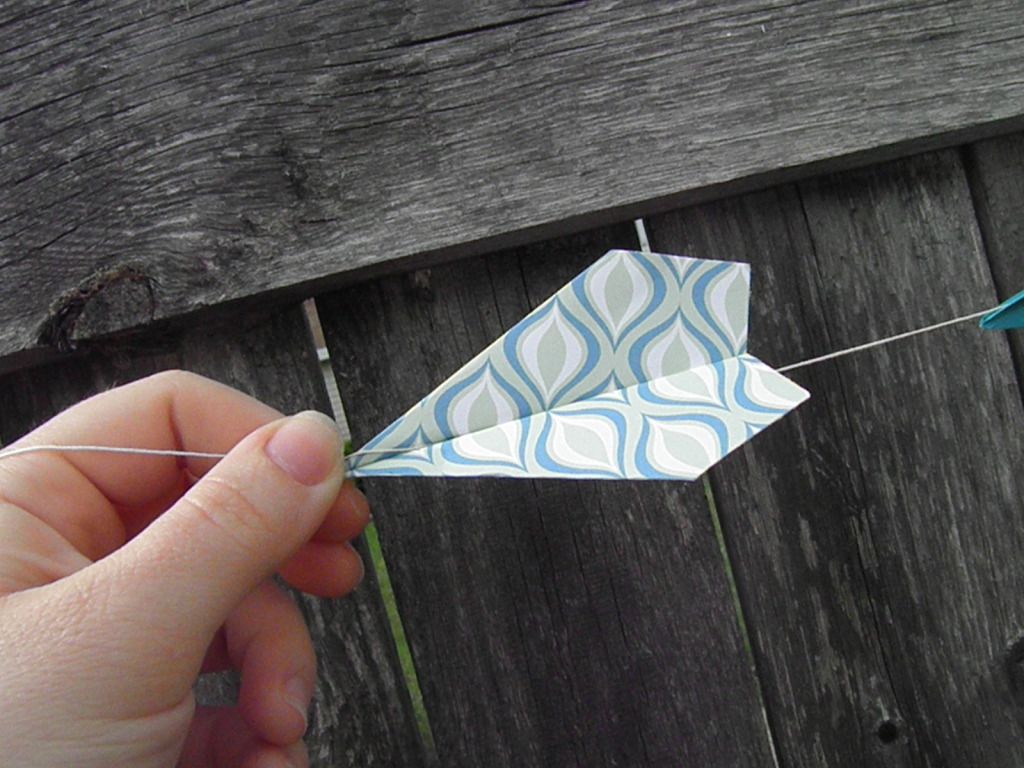
Here's your airplane. Make a bunch of them until you have enough to form a small air force.
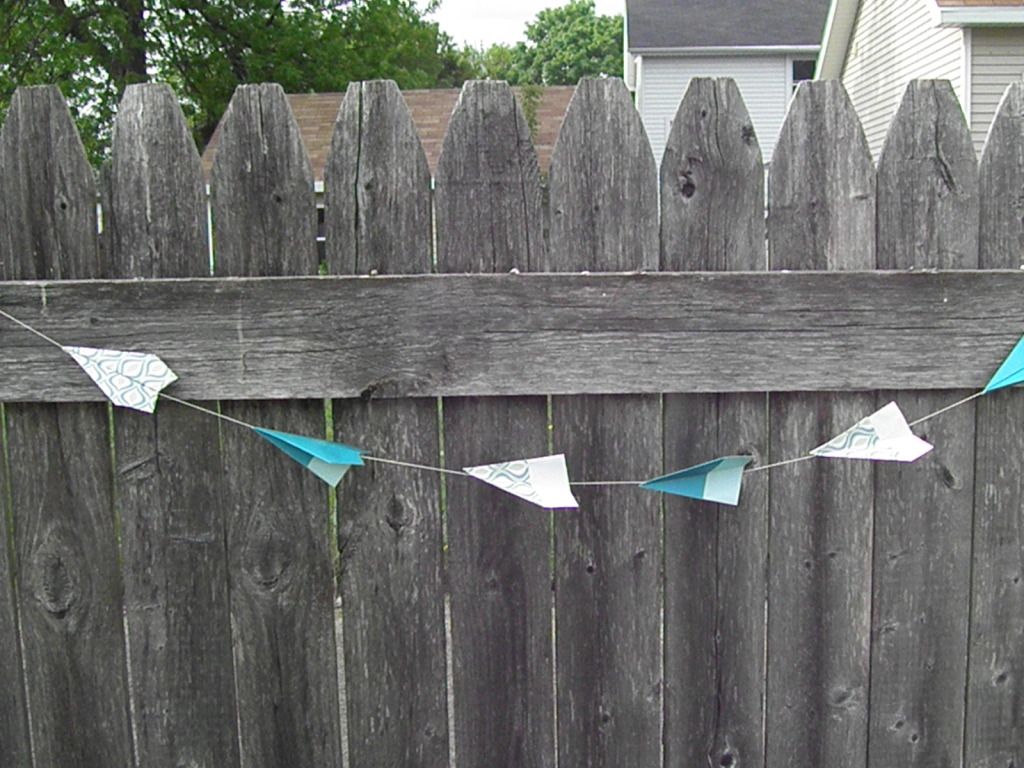
Use your string of choice for the banner. Just glue the open center of the airplane around the string. Elmer's works fine.
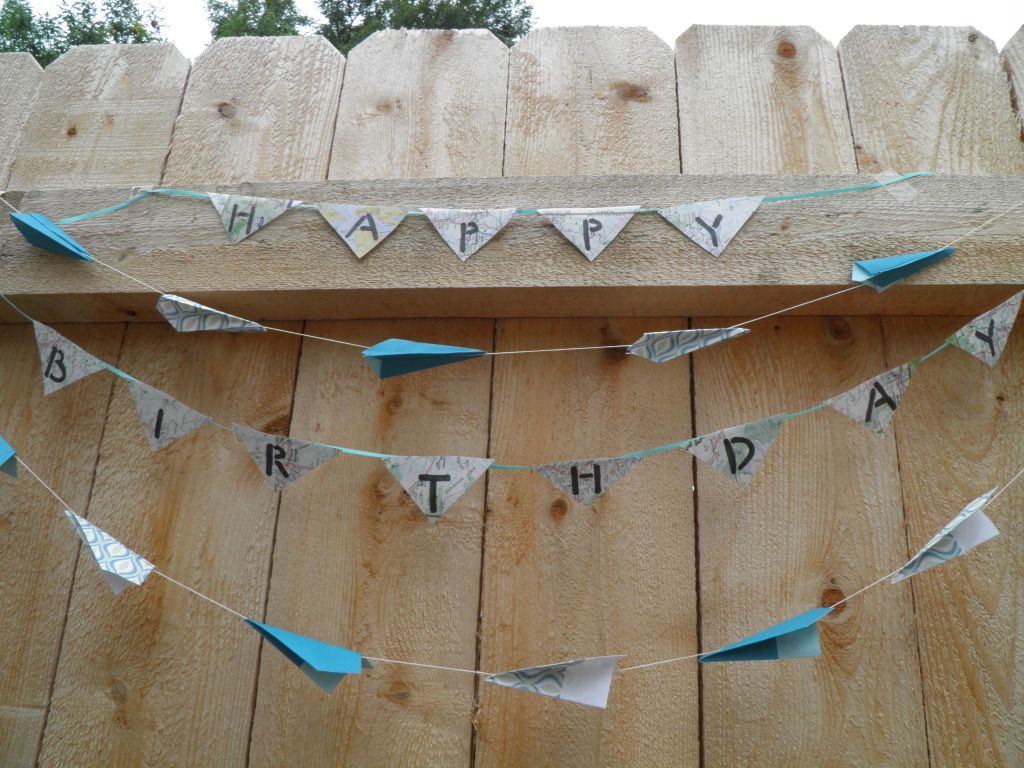
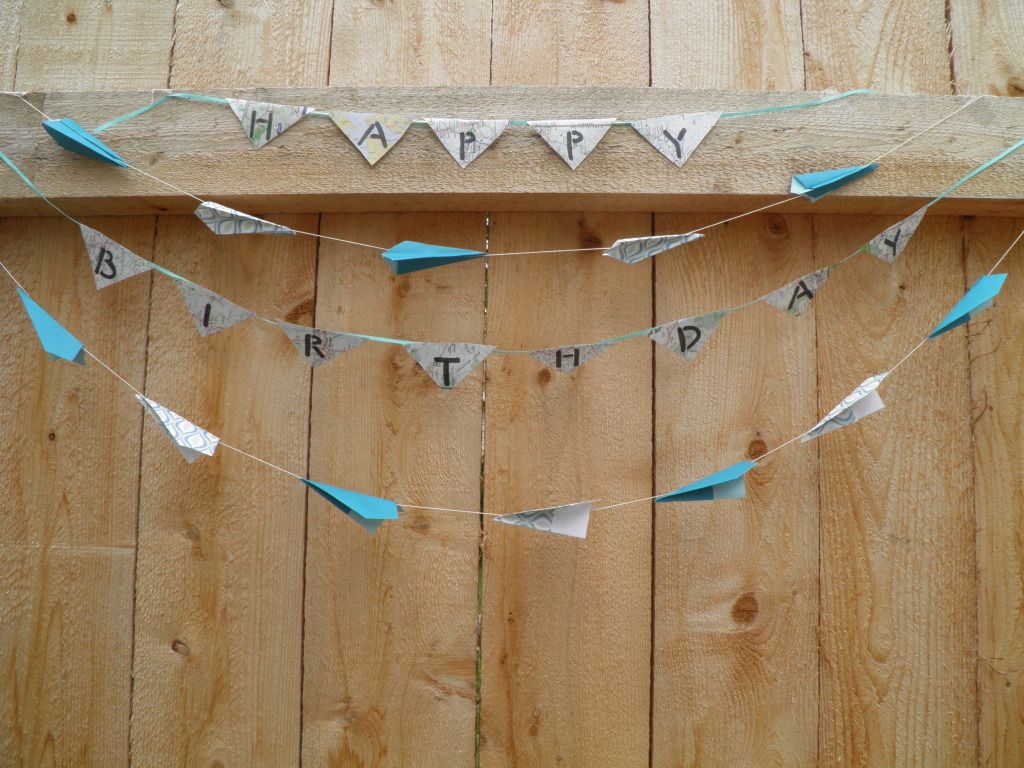
Here's the finished paper airplane banner:
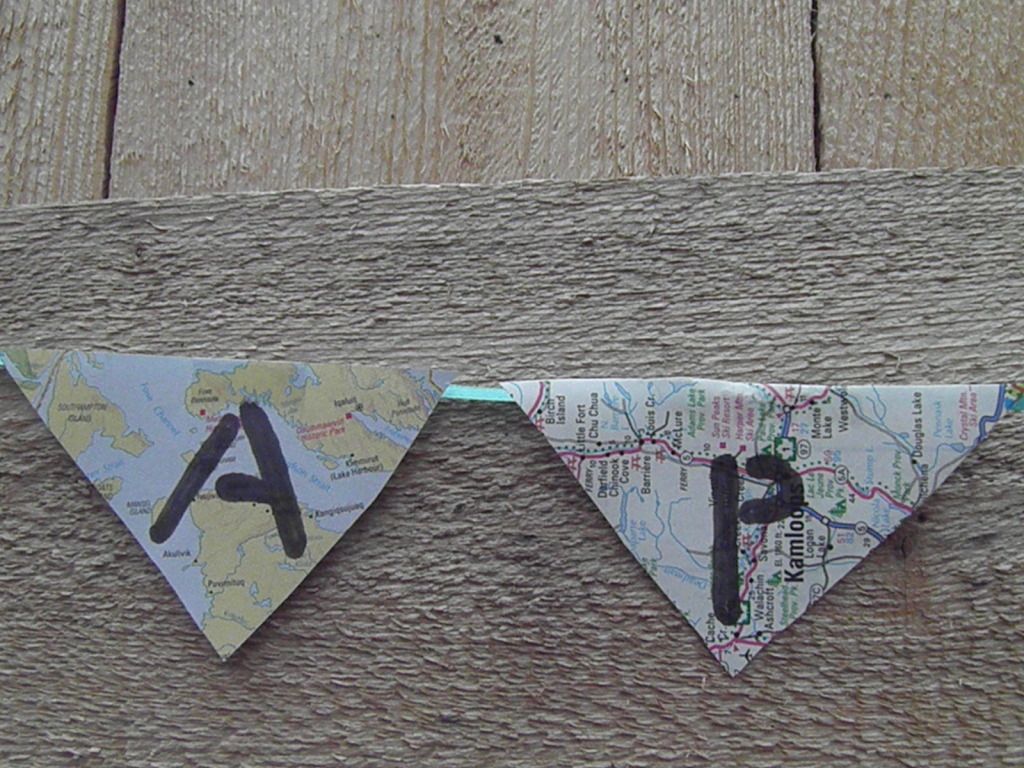
To make the map bunting, I just cut up an old road atlas. I used some of my son's triangle blocks as a template for the triangles. I used a stencil and a black Sharpie to color in the letters. Then I stapled the triangles to some ribbon. That's it!
You put them together, and you have a unisex "Happy Birthday" banner. Pretty cute, huh?
For even more DIY banner ideas, check out the other birthday banners in this series:





No Comments Yet, Leave Yours!
Simple yet great, effective and delighting trick. Thanks for sharing
Post a Comment